Commercial smart pool systems can cost upwards of $10,000, but we found that there was a way to create the same features at a fraction of that cost.
You can build a smart pool system for under $100. This beats spending $500 on a basic RF remote or $1,000 on hardware parts. The system’s automation lets you control your pool’s heating, lighting, filtration, and chemical balance from your smartphone. Smart pools blend with automated cleaning features and energy-saving pumps. We’ll show you the steps to plan, build, and program your own pool automation system that won’t break the bank.
Planning Your Smart Pool System
Smart pool system projects need proper planning. The success of your DIY project depends on proper preparation.
Define your pool automation goals
You need to figure out what you want from your smart pool system. A well-automated pool connects multiple equipment pieces to a central hub. This makes it simple to manage everything from one interface. Think about whether you need simple functions like pump scheduling or advanced features like automated water chemistry monitoring. Your component choices and budget will depend on how complex you want the system to be.
List the components you want to control
After setting your goals, make a list of the equipment you want to automate:
- Circulation system: Pool pump and filtration
- Water chemistry: Chlorinators, pH control, temperature sensors
- Heating: Pool heater or heat pump
- Lighting: Pool and landscape lighting
- Additional features: Water fountains, waterfalls, or cleaners
Each new component makes your automation system more complex but adds more features. Pick what gives you the most value for your specific needs.
Sketch a basic wiring diagram
A good wiring diagram is important. Map out your input devices (sensors for temperature, flow, etc.) and output devices (pumps, lights, valves). You should measure your components and sketch their layout to figure out the enclosure size. The system voltages need careful planning—pool equipment uses different voltages: 120V/240V for pumps and heaters, 24VAC for valve motors, and 12VDC for LED lighting.
Choose between Raspberry Pi or ESP8266
The controller choice is a vital decision. Raspberry Pi gives you more processing power and flexibility but needs more setup time. The ESP8266 might work better for beginners as it’s more straightforward and economical—you can get one for under $5. ESP8266’s strength lies in adding Wi-Fi capabilities to sensors and controls, which makes wireless pool monitoring easier. The Raspberry Pi might be your best bet if you need advanced features, as it supports multiple UART connections and works better with complex systems.
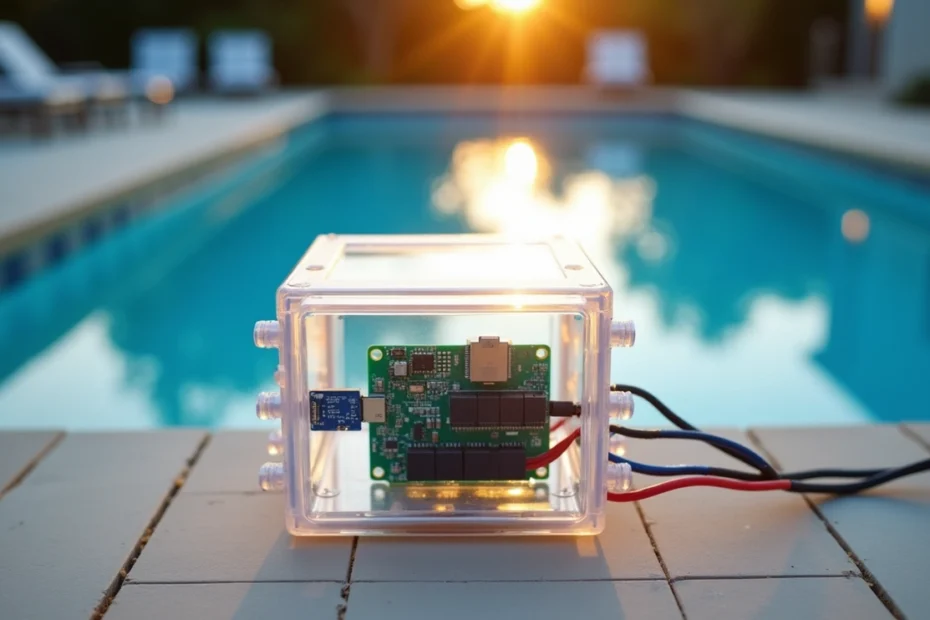
Gathering the Right Hardware for Under $100
The system planning phase is complete. Let’s look at all the components needed to build your system on a budget. Here’s some great news – you can build a complete pool automation system for less than $100 if you make smart choices.
Microcontroller options: Raspberry Pi vs ESP8266
Your smart pool system needs a brain – either a Raspberry Pi or ESP8266/ESP32. Raspberry Pi packs more processing power and connectivity options like I²C and GPIO, which makes it perfect for complex setups. The ESP8266 costs less (usually under $5) and works great for beginners who want simple wireless control. The ESP32 might be worth a look too – it comes with extra memory and GPIO pins, which makes it a solid choice for pool automation projects.
Relay modules and power supplies
Relays bridge the gap between software and hardware. The Sequent Microsystems Eight Relays HAT gives you 16 SPDT relays when stacked, and keeps GPIO pins available through I²C connections. Pool lights or blowers need dedicated relays that match their current requirements—pool pumps typically need 240V relays with higher amp ratings. Your setup requires different power sources: 5V DC powers microcontrollers, 24V AC runs valve actuators, and 120V/240V AC operates pumps and heaters.
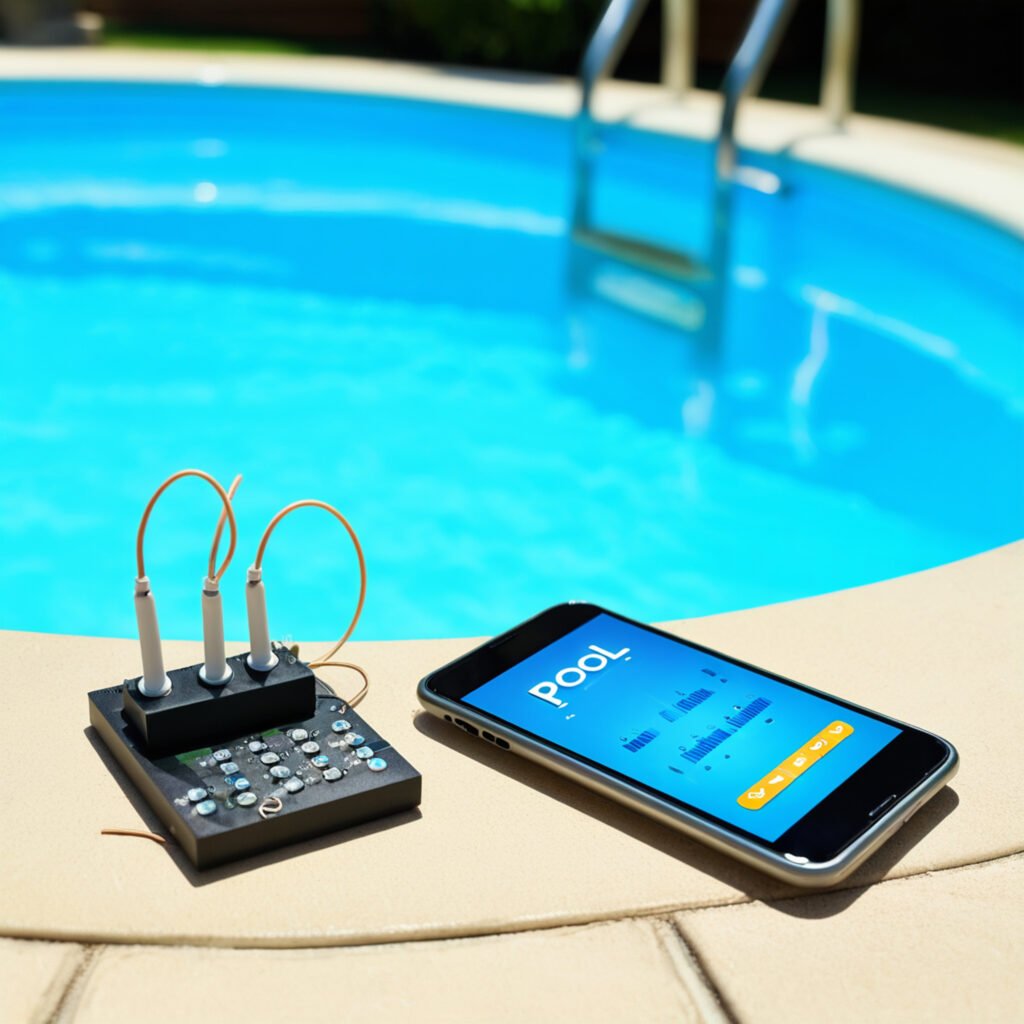
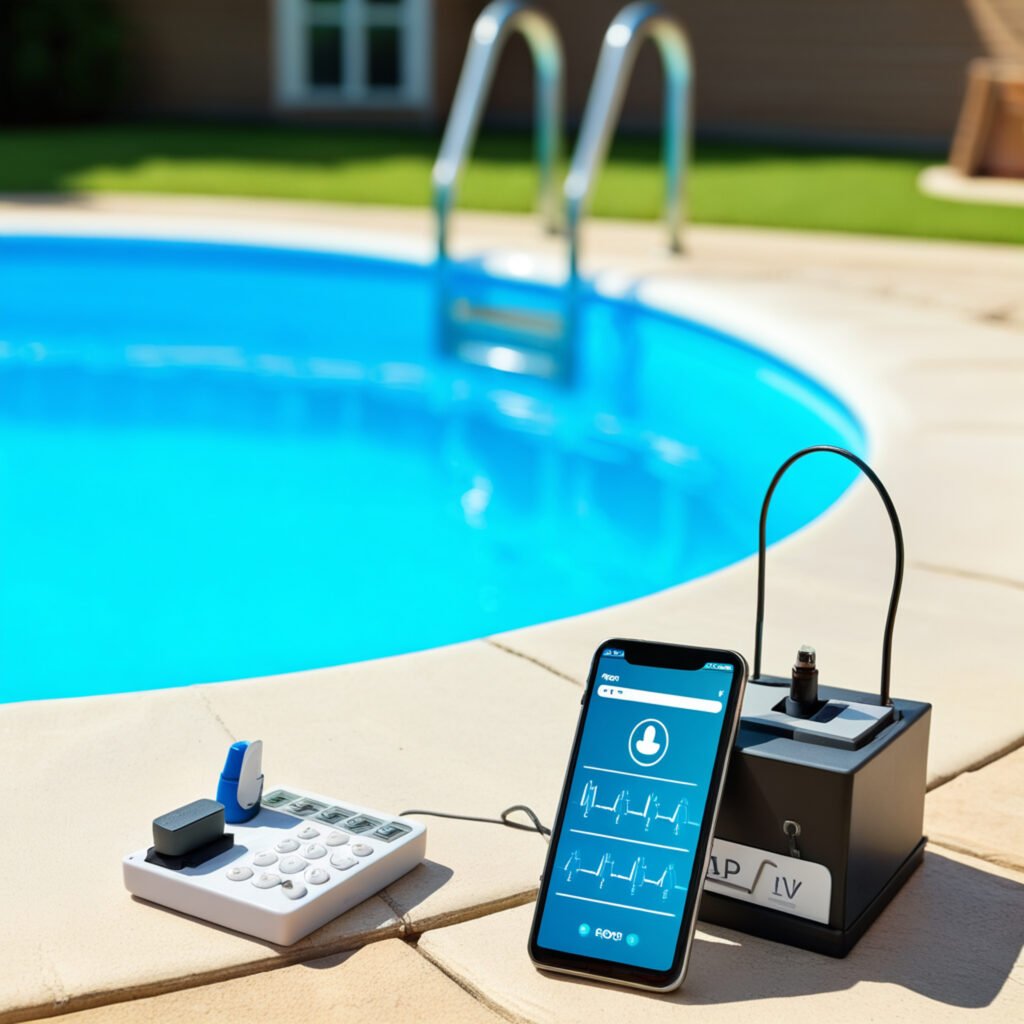
Sensors for temperature and water level
Monitoring needs reliable yet affordable sensors. DHT22 sensors excel at measuring ambient temperature and humidity, and waterproof temperature probes keep track of pool water. Ultrasonic sensors like JSN-SR04T deliver accurate water level readings. YF-DN40 flow sensors help monitor water movement through the filtration system.
Low-cost waterproof enclosures
Protection ranks high on the priority list—your electronics demand an IP67-rated enclosure to handle pool environments. The best enclosures come with removable backplates that feature pre-formed mounting holes. NEMA-rated boxes provide good protection against water, dust, and corrosion if you’re on a tight budget. Waterproof cable glands help maintain your enclosure’s integrity.
Optional: Smart lighting and valve actuators
Valve actuators make a great addition to control water features. These 24V devices redirect water flow automatically between pool, spa, or water features. Smart lighting control needs specialized relays that can manage pool LEDs and create synchronized color patterns for waterfalls and pool illumination.
Setting Up and Wiring Your DIY Smart Pool
The wiring process starts after you have all the components ready. This is maybe the most critical phase that determines your smart pool system’s functionality and safety.
Install and configure your microcontroller
Mount your microcontroller in a waterproof IP67-rated enclosure away from pool chemicals and moisture. Many DIY pool automation enthusiasts choose the ESP32 over the ESP8266 because it offers more memory and GPIO pins. You should secure the microcontroller firmly to your enclosure’s backplate. Leave enough space for wire connections.
Connect relays to control pumps and lights
Wire your relay board to control high-voltage equipment. High inrush current requires contactors between relays and motors for pumps above 0.5 HP. Your pool’s lighting needs dedicated circuits with GFCI protection. All but one of these receptacles within 20 feet of water must have ground fault protection. You can connect jumper wires between wall switches and relay terminals if you want manual control.
Wire sensors for temperature and flow
Temperature sensors throughout your system give you essential automation data. You can mount water temperature sensors in your pipe between the filter pump and primary filter by drilling a 3/8-inch hole. Flow switches need in-line installation with your plumbing. Note that newer models use 3-wire connections, while older systems might need 4-wire configurations.
Ensure safe voltage separation
Your system’s voltage separation needs careful attention. Never connect DC power and USB to your microcontroller at the same time. Your setup will likely use multiple voltages: 5V DC for microcontrollers, 12V DC for LED switches, 24V AC for valve actuators, and 110/240V AC for pumps and lights. Use dividers to separate low and high-voltage sections physically.
Test each component before final assembly
Test everything thoroughly before sealing:
- Each relay should activate its connected equipment
- Sensors must give accurate readings
- All metal components need proper bonding
- GFCI protection works when test buttons are pressed
- Electrical connections should be tight and secure
Connect all metal components within 5 feet of the pool using bonding wires (minimum 8 AWG solid copper). This prevents dangerous voltage gradients in the water.
Programming and Controlling Your Smart Pool System
Programming is what gives your DIY smart pool system its intelligence. Your hardware becomes a sophisticated control system through proper programming.
Use Python or Tasmota for automation
You have two main programming options to choose from. Python excels on Raspberry Pi and gives you flexibility through frameworks like Flask to create web interfaces. You can build custom dashboards that monitor water temperature, control pumps, and schedule filtration cycles.
Tasmota firmware offers a simpler approach for ESP8266/ESP32 devices. This open-source solution has MQTT capabilities, which makes pool automation possible with minimal coding. The system comes with ready-made commands to control filtration, lights, and monitor system parameters.
Create macros for one-click control
Macros make pool management easier by combining multiple actions into a single command. A “Pool Party” macro could activate the filtration pump, turn on decorative lights, and set specific water temperatures at once. You can assign a feature circuit name and set up the macro to control multiple circuits with one button.
Set up remote access via mobile or web
Remote access puts pool management at your fingertips. Commercial systems like the iAquaLink app demonstrate how you can control pool functions from anywhere. DIY enthusiasts can create a simple web interface with Apache as the web server. Adding mobile-enabled features gives your phone operation a professional look.
Integrate with smart home systems (optional)
Smart home integration extends your control options beyond dedicated apps. Your pool system can work with popular platforms like Alexa and Google Home. This allows voice commands such as “heat the spa” or “turn on pool lights”. The connectivity creates a synchronized backyard experience where pool functions work smoothly with other outdoor automation.
Conclusion
A DIY smart pool system offers a great alternative to expensive commercial options. This piece shows how you can build sophisticated pool automation for under $100 instead of spending thousands on pre-built systems. This affordable approach gives you full control over your pool’s key functions and lets you create something that fits your exact needs.
Your DIY smart pool system will change pool maintenance from a tedious chore into a simple automated process. You can manage temperature monitoring, filtration schedules, and lighting controls right from your smartphone or smart home system. On top of that, the modular design lets you expand or modify features as your needs change or technology advances.
Safety matters most when dealing with electrical components near water. You should never skip proper enclosures, voltage separation, and complete testing. Time spent on careful planning and installation will reward you with years of reliable operation.
Commercial systems might have fancier interfaces and customer support, but our DIY solution gives you something better – full understanding and control. You’ll grasp how everything works, which makes troubleshooting easy and repairs affordable. This knowledge also lets you add features that typical commercial systems don’t offer.
Smart pool ownership is now within everyone’s reach. The ESP8266 works great for a simple setup, while a Raspberry Pi handles more advanced features. Both options create a sophisticated automation system that costs nowhere near what traditional systems do. This project shows that smart technology doesn’t need a big price tag – just some planning, basic parts, and a weekend of work.
Start your pool automation journey today. Your wallet will thank you, and you’ll enjoy more poolside relaxation while your system does all the work.