Replacing a pool light fixture ranks among the most hazardous DIY projects a homeowner can undertake. Water and electricity create a deadly mix. Many pool owners don’t realize the risks and put themselves in danger of electrical shock or electrocution.
Professional pool light replacement costs between $500 and $900, with an average of $625. The price makes many homeowners try to fix it themselves. A basic light bulb swap costs $100 to $500. The risks are high with faulty pool lights. Poor installation or issues with grounding and wiring exacerbate the problem. Money saved isn’t worth the risk to life.
This piece explains why DIY pool light repairs often fail and the right way to replace your pool light fixture. You’ll learn about safety measures and the tools you need. We’ll give you step-by-step instructions to do it safely, or help you decide if you should call a pro instead.
Why Most DIY Pool Light Replacements Go Wrong
“Attempting to repair electrical issues without proper knowledge and experience can be extremely dangerous. Prioritize safety and always err on the side of caution.” — Poolie.com Editorial Team, Expert pool maintenance and repair resource
DIY pool light replacement projects often fail because small mistakes can snowball into major problems. You can save time, money, and avoid dangerous situations by learning about these common pitfalls.
Skipping safety checks and power shutoff
Most DIY enthusiasts rush through the most critical first step – they don’t completely shut off the power. Just flipping the light switch won’t cut it. You need to disconnect the electricity at the circuit breaker and check with a voltage tester to be sure. This check isn’t optional since water and electricity make a deadly combination. Many homeowners also forget to check their pool light circuit’s protection by a working Ground Fault Circuit Interrupter (GFCI) breaker that keeps everyone safe.
Using the wrong type of bulb or voltage
Pool lights work on either 12V (low voltage) or 120V (line voltage) systems that you can’t mix and match. Your equipment will break immediately if you put a 120V bulb in a 12V system or the other way around. This creates serious safety risks. Many DIYers also don’t check if LED replacements work with their existing fixtures or pick bulbs with the wrong wattage ratings.
Improper sealing and gasket reuse
The biggest problems usually come from gaskets and sealing issues. Research shows 99% of all color LED bulb failures happen because water leaks through the light housing. Chlorine damages silicone gaskets over time, and they last only 5-10 years. All the same, homeowners try to reuse old gaskets with new bulbs, which guarantees future leaks. You must replace even high-quality silicone gaskets each time you open the light housing.
Not testing for leaks before reinstalling
Most DIYers skip the crucial leak test before final installation. A proper test is simple – hold the reassembled fixture underwater with the lens facing up and look for escaping air bubbles. Without this basic test, water will find its way into the fixture. This leads to corrosion, short circuits, and complete failure. What started as a simple bulb change might end up needing a complete replacement.
These insights will help you replace your inground pool light successfully without creating problems that might get pricey or dangerous.
Essential Tools and Materials You Need
You need the right tools and materials to successfully replace an inground pool light. Pool light work isn’t like regular house repairs – it needs specific equipment to stay safe and get the job done right.
Voltage tester and screwdriver
A reliable voltage tester is a must-have when dealing with pool electrical parts. You should always check for current with a multimeter or non-contact voltage tester even after turning off the breakers. This simple check can save your life during pool light repairs. The fixture needs both Phillips and flathead screwdrivers. A 6-in-1 multi-bit tool works best since it handles different screw types you might find.
Correct replacement bulb (LED, halogen, etc.)
The right replacement bulb is vital to your project’s success. Look at your current fixture’s label to find the model number, voltage, and wattage specs. Most pools run on either 12V (with a transformer) or 120V systems – you can’t mix these up. Halogen bulbs give a warm light and cost less upfront, but only last about 1,000 hours. LED replacements turn 80% of electricity into light and can work for 50,000 hours. This makes them a popular choice despite their higher price. Make sure your system works with LEDs if you’re switching from halogen.
New gasket and waterproof sealant
You should put in a new gasket every time you change the bulb, whatever your old one looks like. Old gaskets often cause leaks that lead to costly repairs. Pool-specific waterproof sealant helps create a tight seal around the fixture’s housing and mounting screws.
A pool putty and a towel for the workspace
Pool putty waterproofs the conduit entry point and stops water from following the wires. Soft towels come in handy, too. They give you a clean work area, protect the fixture, and help wipe away residue before you put everything back together. Placing the fixture on a towel keeps it from getting scratches that could break its waterproof seal.
Step-by-Step: How to Replace an In-Ground Pool Light Safely
Replacing an inground pool light correctly requires specific steps in the right order. Safety should be your main concern throughout this process.
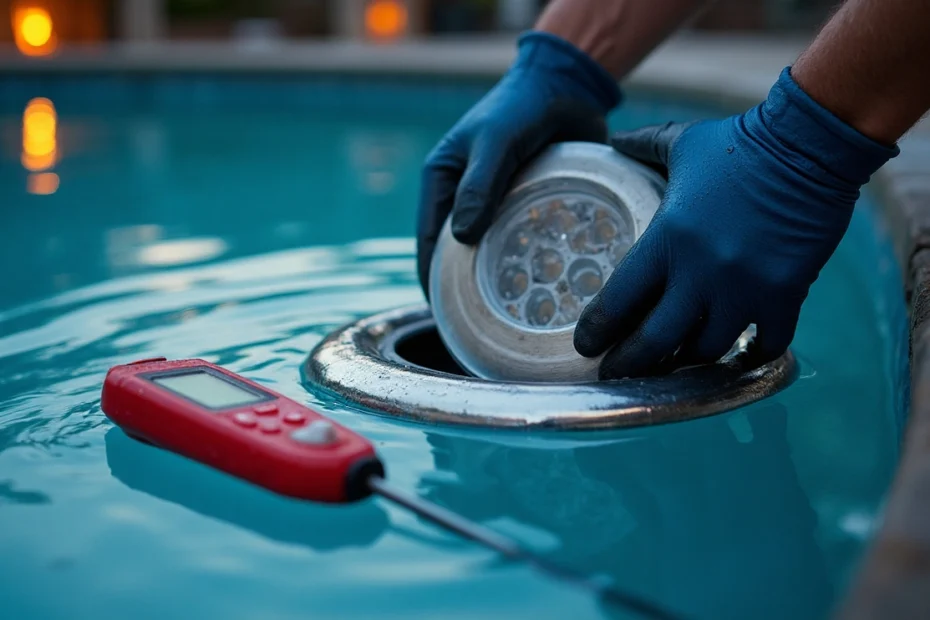
Turn off the power and confirm with a voltage tester
Locate the circuit panel for your pool and turn off all breaker switches connected to the pool lights. This step is crucial. Switch off the breakers and confirm zero electricity flow with a non-contact voltage tester. Test the light switch by placing the tester against it while flipping it off and on. Note that you shouldn’t proceed until you’ve identified the correct breaker that controls your light.
Remove the fixture and inspect for damage
A single Phillips-head screw typically secures the housing to the pool wall. Remove this screw with care and use a flathead screwdriver between the pool wall and light housing to work it loose. Extra wire (approximately 3-4 feet) should reach the pool ledge. Place the freed fixture on a dry towel to protect the lens.
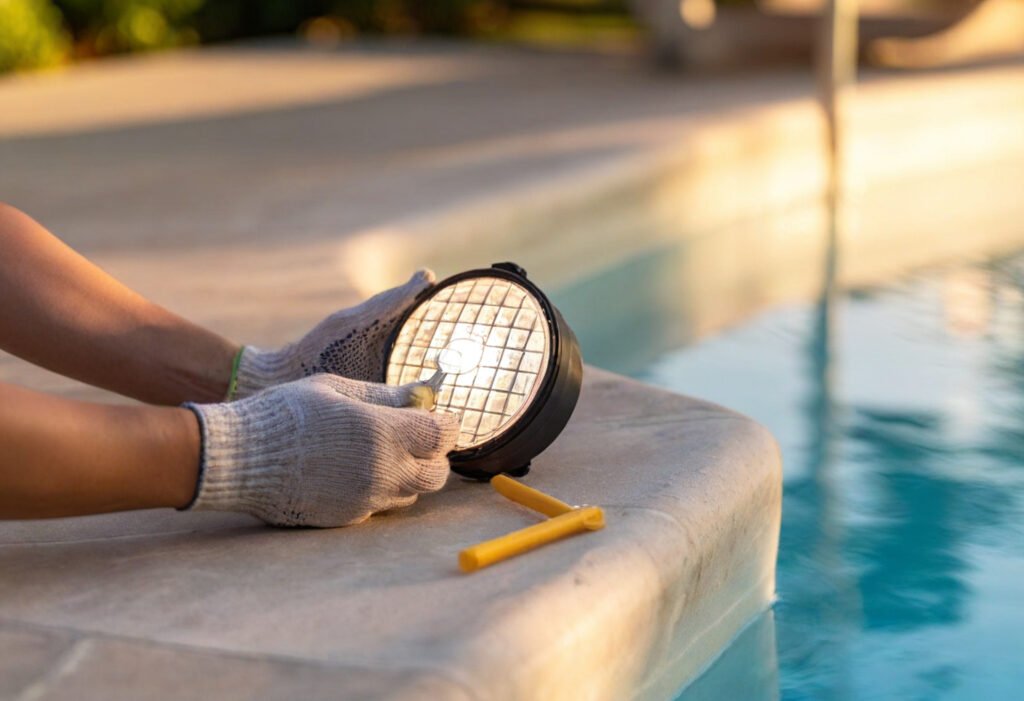
Replace the bulb and gasket
Use a dry towel for grip and unscrew the old bulb. Put in the new bulb without making it too tight. You must replace the gasket at this point – never reuse old ones, whatever their condition. Fit the new gasket around the lens and reassemble the housing by tightening all screws evenly.
Test the light before sealing
You can quickly test if the new bulb works by restoring power briefly before reinstallation. The test should last only 1-2 seconds since pool lights can’t operate outside of water. Cut the power again right after testing.
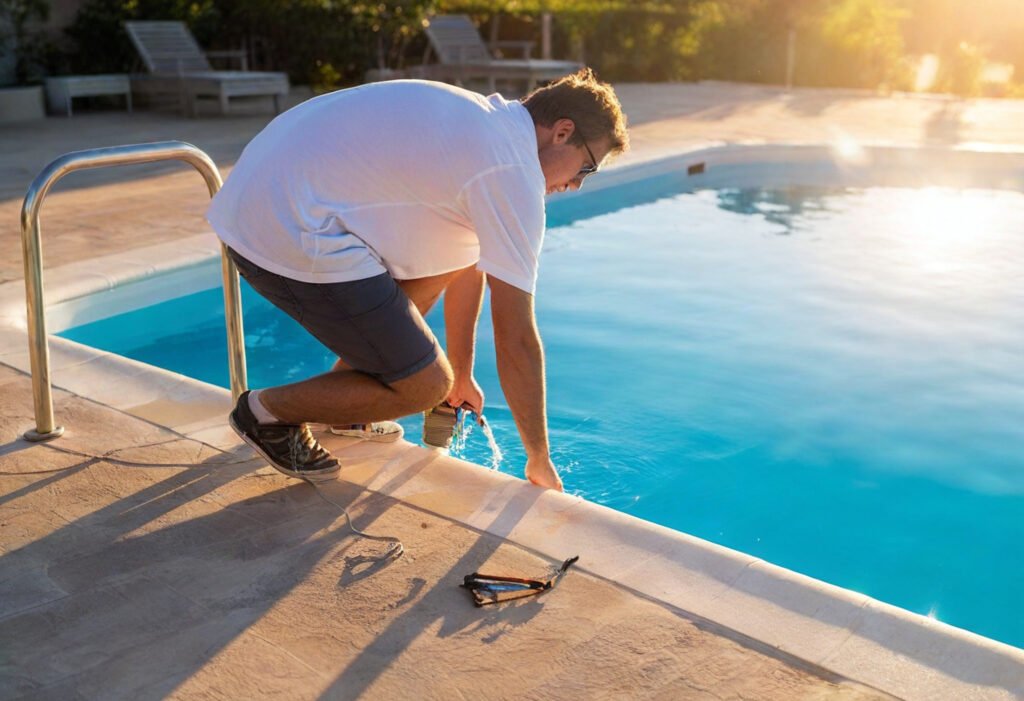
Reinstall and check for leaks
Check for leaks by submerging the assembled light; steady bubbles indicate you need to reassemble it. Coil the excess cord around the housing in its original position. Fix the fixture with the mounting screw and restore power at the circuit panel.
When to Call a Professional Instead
“If water continues to infiltrate the light fixture despite replacing gaskets and seals, it could indicate a more serious issue, such as cracks in the pool’s shell or problems with the niche itself.” — Poolie.com Editorial Team, Expert pool maintenance and repair resource
Safety comes first over savings when replacing inground pool light fixtures. You just need professional help in certain situations, even if you’re an experienced DIYer.
If water is inside the fixture
Water visible inside a light fixture shows a failed gasket seal or housing crack. This creates an immediate shock hazard from electrical shorts. Water that enters the light body can also release harmful substances into your pool water and affect its quality and appearance. You should turn off the power right away if you spot any moisture.
If wiring or conduit is damaged
Damaged wiring, broken conduits, or stuck cables within conduit systems need specialized tools and expertise. DIY repairs could cut wires inside walls and create hidden dangers. Professional electricians have the right equipment to find underground faults or severe corrosion.
If the GFCI keeps tripping
A Ground Fault Circuit Interrupter that trips repeatedly points to the most important electrical problem. This safety device watches for current imbalances to protect against electrocution. The constant tripping likely means water has gotten into the wiring, components are failing, or dangerous current is leaking.
If you’re unsure about voltage or compatibility
Not knowing your pool’s voltage system (12V vs. 120V) creates serious risks. LED replacements might also have compatibility issues with existing fixtures that need a full picture. Experts say they sometimes need special equipment to determine the right voltage. Professional help will give a safe installation and longer-lasting equipment.
Conclusion
Replacing pool lights is one of the most important—and potentially dangerous—DIY pool maintenance tasks you’ll face as a homeowner. This piece explains why many DIY attempts don’t work out and shows how good preparation can make the difference between a soaring win and getting pricey mistakes.
Your safety must come first when working with underwater lighting. So, you should always use a voltage tester to confirm the power is off. Don’t trust a light switch alone to protect you. You also need to know your pool’s exact voltage requirements to avoid damaging your equipment.
The proper sealing process often gets overlooked. Using new gaskets every time you open a light will save you many headaches down the road. It also helps to do a simple underwater bubble test before finishing the installation to make sure your fixture stays watertight.
Saving money drives many people to try DIY projects. Of course, some situations need professional help. You should call an expert if you find water inside fixtures, damaged wiring, GFCIs that keep tripping, or if you’re unsure about your system specs. The average $625 professional replacement cost is nowhere near as concerning as the potential risks of doing it wrong.
You can replace pool lights safely if you follow the right steps. All the same, knowing when to call a pro might be your smartest pool maintenance decision. Note that pool lights improve both safety and enjoyment, but only when we are willing to install them properly.