Clean pool tiles play a vital role in your pool’s appearance and health. Many pool owners find it challenging to deal with stubborn calcium deposits and discoloration. Calcium buildup creates the biggest problem with pool tiles. You’ll typically find it in two forms: calcium carbonate or calcium silicate.
The right cleaning techniques make a huge difference to your pool tiles. Your pool’s appearance and health depend on proper grout maintenance to avoid potential risks. This piece will show you the best ways to clean pool tiles. You’ll learn about effective cleaners for different stains and discover vital grout cleaning methods that most owners miss. Your pool water’s chemical balance also plays a key role in protecting both tiles and grout from damage.
Understanding What Damages Pool Tiles

Pool owners often mistake different types of buildup for actual tile damage. Pool tiles rarely lose their color or break down naturally. The discoloration you see is usually just minerals, bacteria, or chemical residue building up on the surface.
Discoloration vs. Buildup: What’s the Difference?
Pool tiles come with special glazes that make them resistant to UV rays and pool chemicals, which helps them keep their vibrant colors over time. True discoloration only happens when the glaze gets scratched or damaged, but this doesn’t happen often. Most cases of faded or discolored tiles are substances that have built up on the tile surface.
You can tell the difference between buildup and true discoloration easily. Buildup appears as a layer on top of the tile that you can potentially remove. Real damage to the tile’s color will be permanent and won’t improve with cleaning.
Common causes: calcium, algae, and metals
Calcium deposits are the main reason why owners think their tiles are damaged. These show up as white or grayish stains along the waterline. Calcium buildup comes in two forms:
- Calcium carbonate – Shows up as a fine, layered buildup that cleans up well with regular maintenance
- Calcium silicate – Creates sharper, crystallized deposits that need stronger treatment
Bacterial growth and algae create their own set of problems. These show up as green, black, or yellow patches on tiles. Bad water chemistry or poor circulation lets algae grow freely, which makes surfaces slippery and creates ugly spots.
Metal staining is another common issue. Copper and iron in the water create blue-green or rust-colored stains. Organic materials like leaves can also cause brown or green discoloration.
How grout degradation affects tile appearance
Grout does more than fill spaces between tiles—it keeps water out, holds tiles in place, and makes your pool look better. Bad grout can cause several problems:
Deteriorating grout becomes a perfect home for algae and bacteria. This affects both how your pool looks and its cleanliness.
Water getting behind tiles below the waterline can weaken their grip and cause discoloration. Small cracks or color changes in grout are warning signs that repairs might be needed. Ignored problems will cause tiles to become loose or shift.
Mold growth, dark spots, and tiny cracks between tiles usually point to grout problems that will affect how your pool’s tile installation looks overall.
Essential Tools and Cleaners for Pool Tile Maintenance
The right cleaning tools can transform frustrating pool maintenance into an easy task. You’ll need to match the right cleaners with specific problems to keep your pool sparkling clean throughout the year.
Best pool tile cleaner options for different stains
Acid-based cleaners work great on calcium deposits – the toughest pool tile issue you’ll face. These powerful cleaners dissolve mineral buildup quickly. Pool professionals recommend CLR and Bio-Dex 300 as their top picks for stubborn scale.
Enzyme-based cleaners serve as a milder solution for oils and grease stains. These eco-friendly products break down biological matter and protect your tile’s finish. EasyCare Pool Tile Cleaner does the job without harsh chemicals.
SeaKlear Thick Tile & Vinyl Cleaner and similar all-purpose cleaners handle daily maintenance well. These balanced formulas tackle multiple stain types and remain safe enough to use regularly.
Choosing the right pool tile grout cleaner
A grout brush or old toothbrush lets you clean narrow areas with precision and prevents damage.
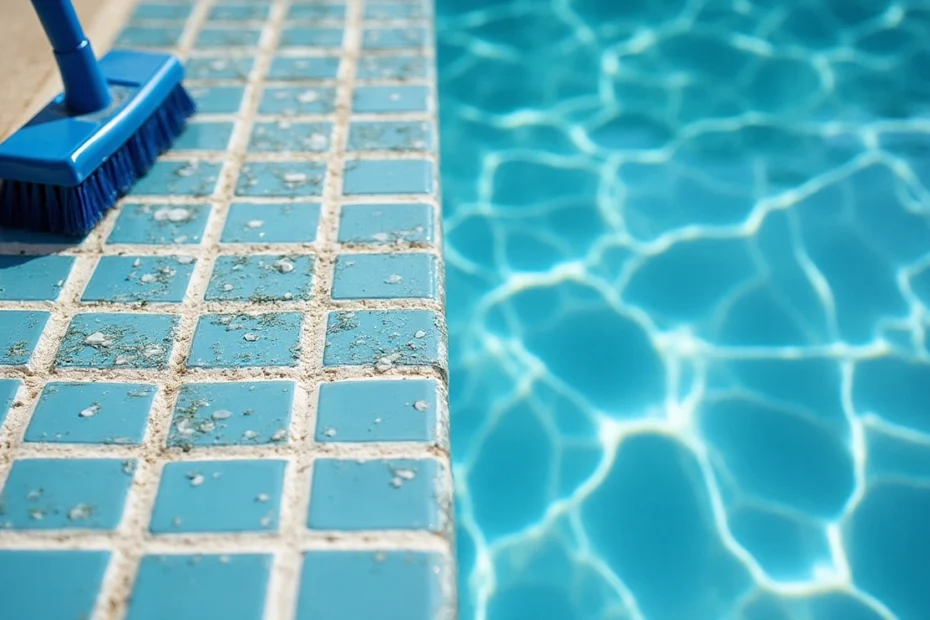
Pool tile grout cleaners contain special ingredients that seep into porous grout without damaging it. Glass tiles need soft-bristled brushes, while ceramic and concrete surfaces can handle stiffer bristles.
A simple mix of baking soda and water makes a budget-friendly paste that removes light stains from grout lines.
When to use pumice stones, brushes, or pressure washers
Pumice stones remove tough calcium deposits from ceramic, concrete, and gunite surfaces effectively. These natural cleaners adapt to surface shapes for complete coverage. All the same, avoid using pumice on glass, fiberglass, or plastic surfaces as it will scratch them.
Brushes are your most versatile cleaning tool. A 2-in-1 pool tile scrub brush with polyamide bristles cleans most tile materials safely. Long-handled pool brushes help you reach waterline tiles easily.
Pressure washers pack enough power to remove heavy buildup, but you need to use them carefully. Pool service companies often employ pressure washers with hot water capabilities reaching 330°F as the quickest way to clean without chemicals. Make sure to drain the pool and test a small area before pressure washing to avoid damage.
Step-by-Step Cleaning Secrets Most Owners Miss

Basic cleaning routines skip crucial steps that separate average from outstanding results. A few hidden tricks will reshape your pool tile maintenance experience without much extra work.
1. Pre-wet tiles before applying any cleaner
Your pool tiles need to be wet before you apply cleaning solutions. This basic step helps cleaners work better against dirt and makes the wiping process easier. A damp surface stops cleaning products from drying too fast and lets them soak into tough deposits.
2. Use vinegar or baking soda paste for natural cleaning
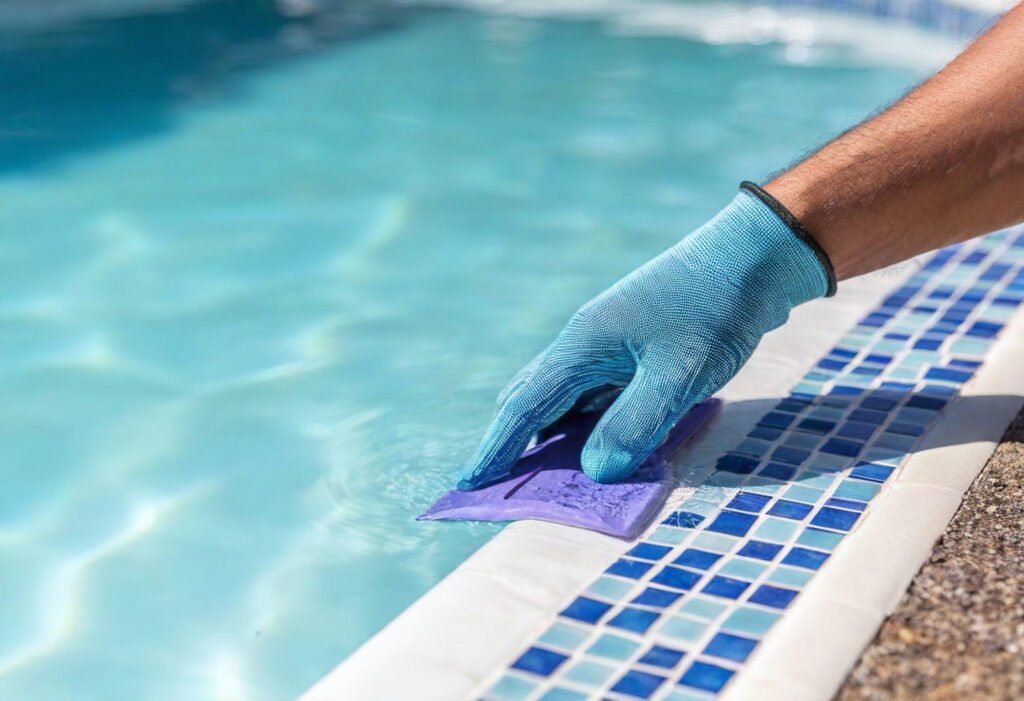
Mix equal parts white vinegar and water to create a simple but effective cleaning solution. This natural mix breaks down light mineral deposits safely. Stubborn stains need a baking soda paste – mix a few cups of baking soda with just enough water to form a paste. The paste should sit for 10-15 minutes before you start scrubbing.
3. Scrub in circular motions to avoid grout damage
Clean in circular motions and work on small sections about three to four feet wide. This method cleans well and protects your grout lines. Glass tiles need a soft-bristled brush, while ceramic surfaces work better with stiff bristles.
4. Rinse thoroughly to prevent residue buildup
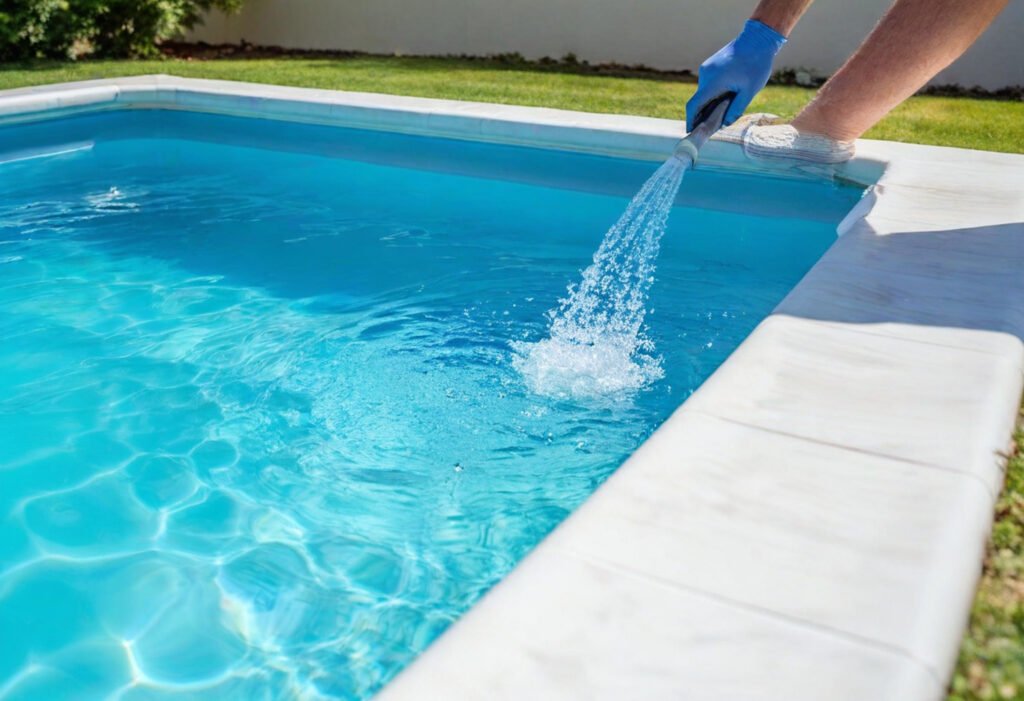
Clean water should wash away all cleaner residue after scrubbing. Leftover cleaning products attract dirt and can react badly with pool chemicals, which leads to new stains.
5. Repeat cleaning monthly for best results
You should clean waterline tiles right when you see discoloration, usually once a month. Quick action prevents light buildup from becoming tough stains that need heavy-duty cleaning.
Long-Term Tile and Grout Protection Tips
Pool tile problems become much harder to fix once they appear. Your beautiful pool finish will last longer when you implement protection strategies that save time and money.
Maintain balanced water chemistry
Proper chemical levels provide the best defense against tile damage. Your pool’s pH should stay between 7.2 and 7.8, while calcium hardness needs to remain between 200-400 ppm. The total alkalinity must stay within 80-120 ppm. Your water requires testing 2-3 times weekly during peak swimming seasons because incorrect water chemistry leads to calcium buildup and eroded tile surfaces.
Seal cement-based grout annually
Your cement-based grout needs sealing right after installation and yearly resealing. This barrier protects against moisture, bacteria, and deterioration. A simple water drop test on grout lines reveals when resealing becomes necessary – absorbed water means it’s time.
Avoid harsh chemicals that erode tile glaze
Acidic cleaners like vinegar damage grout gradually during routine maintenance. pH-neutral, pool-safe cleaning solutions protect your tile glazing and grout integrity better.
Schedule seasonal deep cleans
Your pool needs thorough cleaning when swimming season begins and once or twice before it ends. This regular maintenance prevents overwhelming buildup.
Monitor for early signs of grout cracking
These warning signs need immediate attention:
- Dark spots or mold growth
- Hairline cracks between tiles
- Loose or shifting tiles
Quick action prevents water infiltration that leads to expensive structural damage.
Conclusion
Clean pool tiles need regular care and the right techniques, not just occasional deep cleaning sessions. Quick fixes for small problems stop them from becoming expensive repairs that need professional help. You’ll handle issues better when you can tell the difference between actual tile damage and buildup. This knowledge helps you pick the right tools and cleaners.
Regular upkeep makes pool tile care easier. Your monthly cleaning should start with pre-wetting tiles. Use specific cleaners for different stains, scrub properly, and rinse everything well. Balanced water chemistry is a vital part of protecting your investment and preventing calcium deposits that many pool owners struggle with.
Your pool’s grout works as the foundation for stable tiles. Seal it yearly and fix any cracks or discoloration quickly to extend your tile installation’s life substantially. Keep an eye out for warning signs so you can tackle problems early.
Pool tiles are the centerpiece of your backyard paradise. These cleaning secrets help you maintain a sparkling clean pool without fighting stubborn stains or paying for early replacements. Your consistent care will turn this challenging task into a simple part of your pool maintenance routine.
